Christians Blog- How To Make Farina

Farina a latin word translating into the english word flour or meal is essentially a cream of wheat porridge. Im not exactly sure where this food originates from but after doing a little bit or research it seems like the word comes from Italian and latin decent. This dish is very significant to me because as a kid I would go over to my grandmothers house and have sleep overs. They where always so fun we would watch movies cook, eat, and listen to music. She eventually taught me a lot about cooking and baking lots of different things; but Farina specifically was one of my favorite breakfast foods she used to make for me in the mornings. Traditionally its considered a porridge, but we never like the thick and mushy texture that comes with the traditional way of making Farina. To put this into perspective is similar to whether you like your oatmeal soupy or dry. So in this blog I will explain my grandmothers recipe for soupy Farina.

Step 1) Grab a pot and grab your farina pour how ever much feels right. Now add two times the amount of milk as Farina.
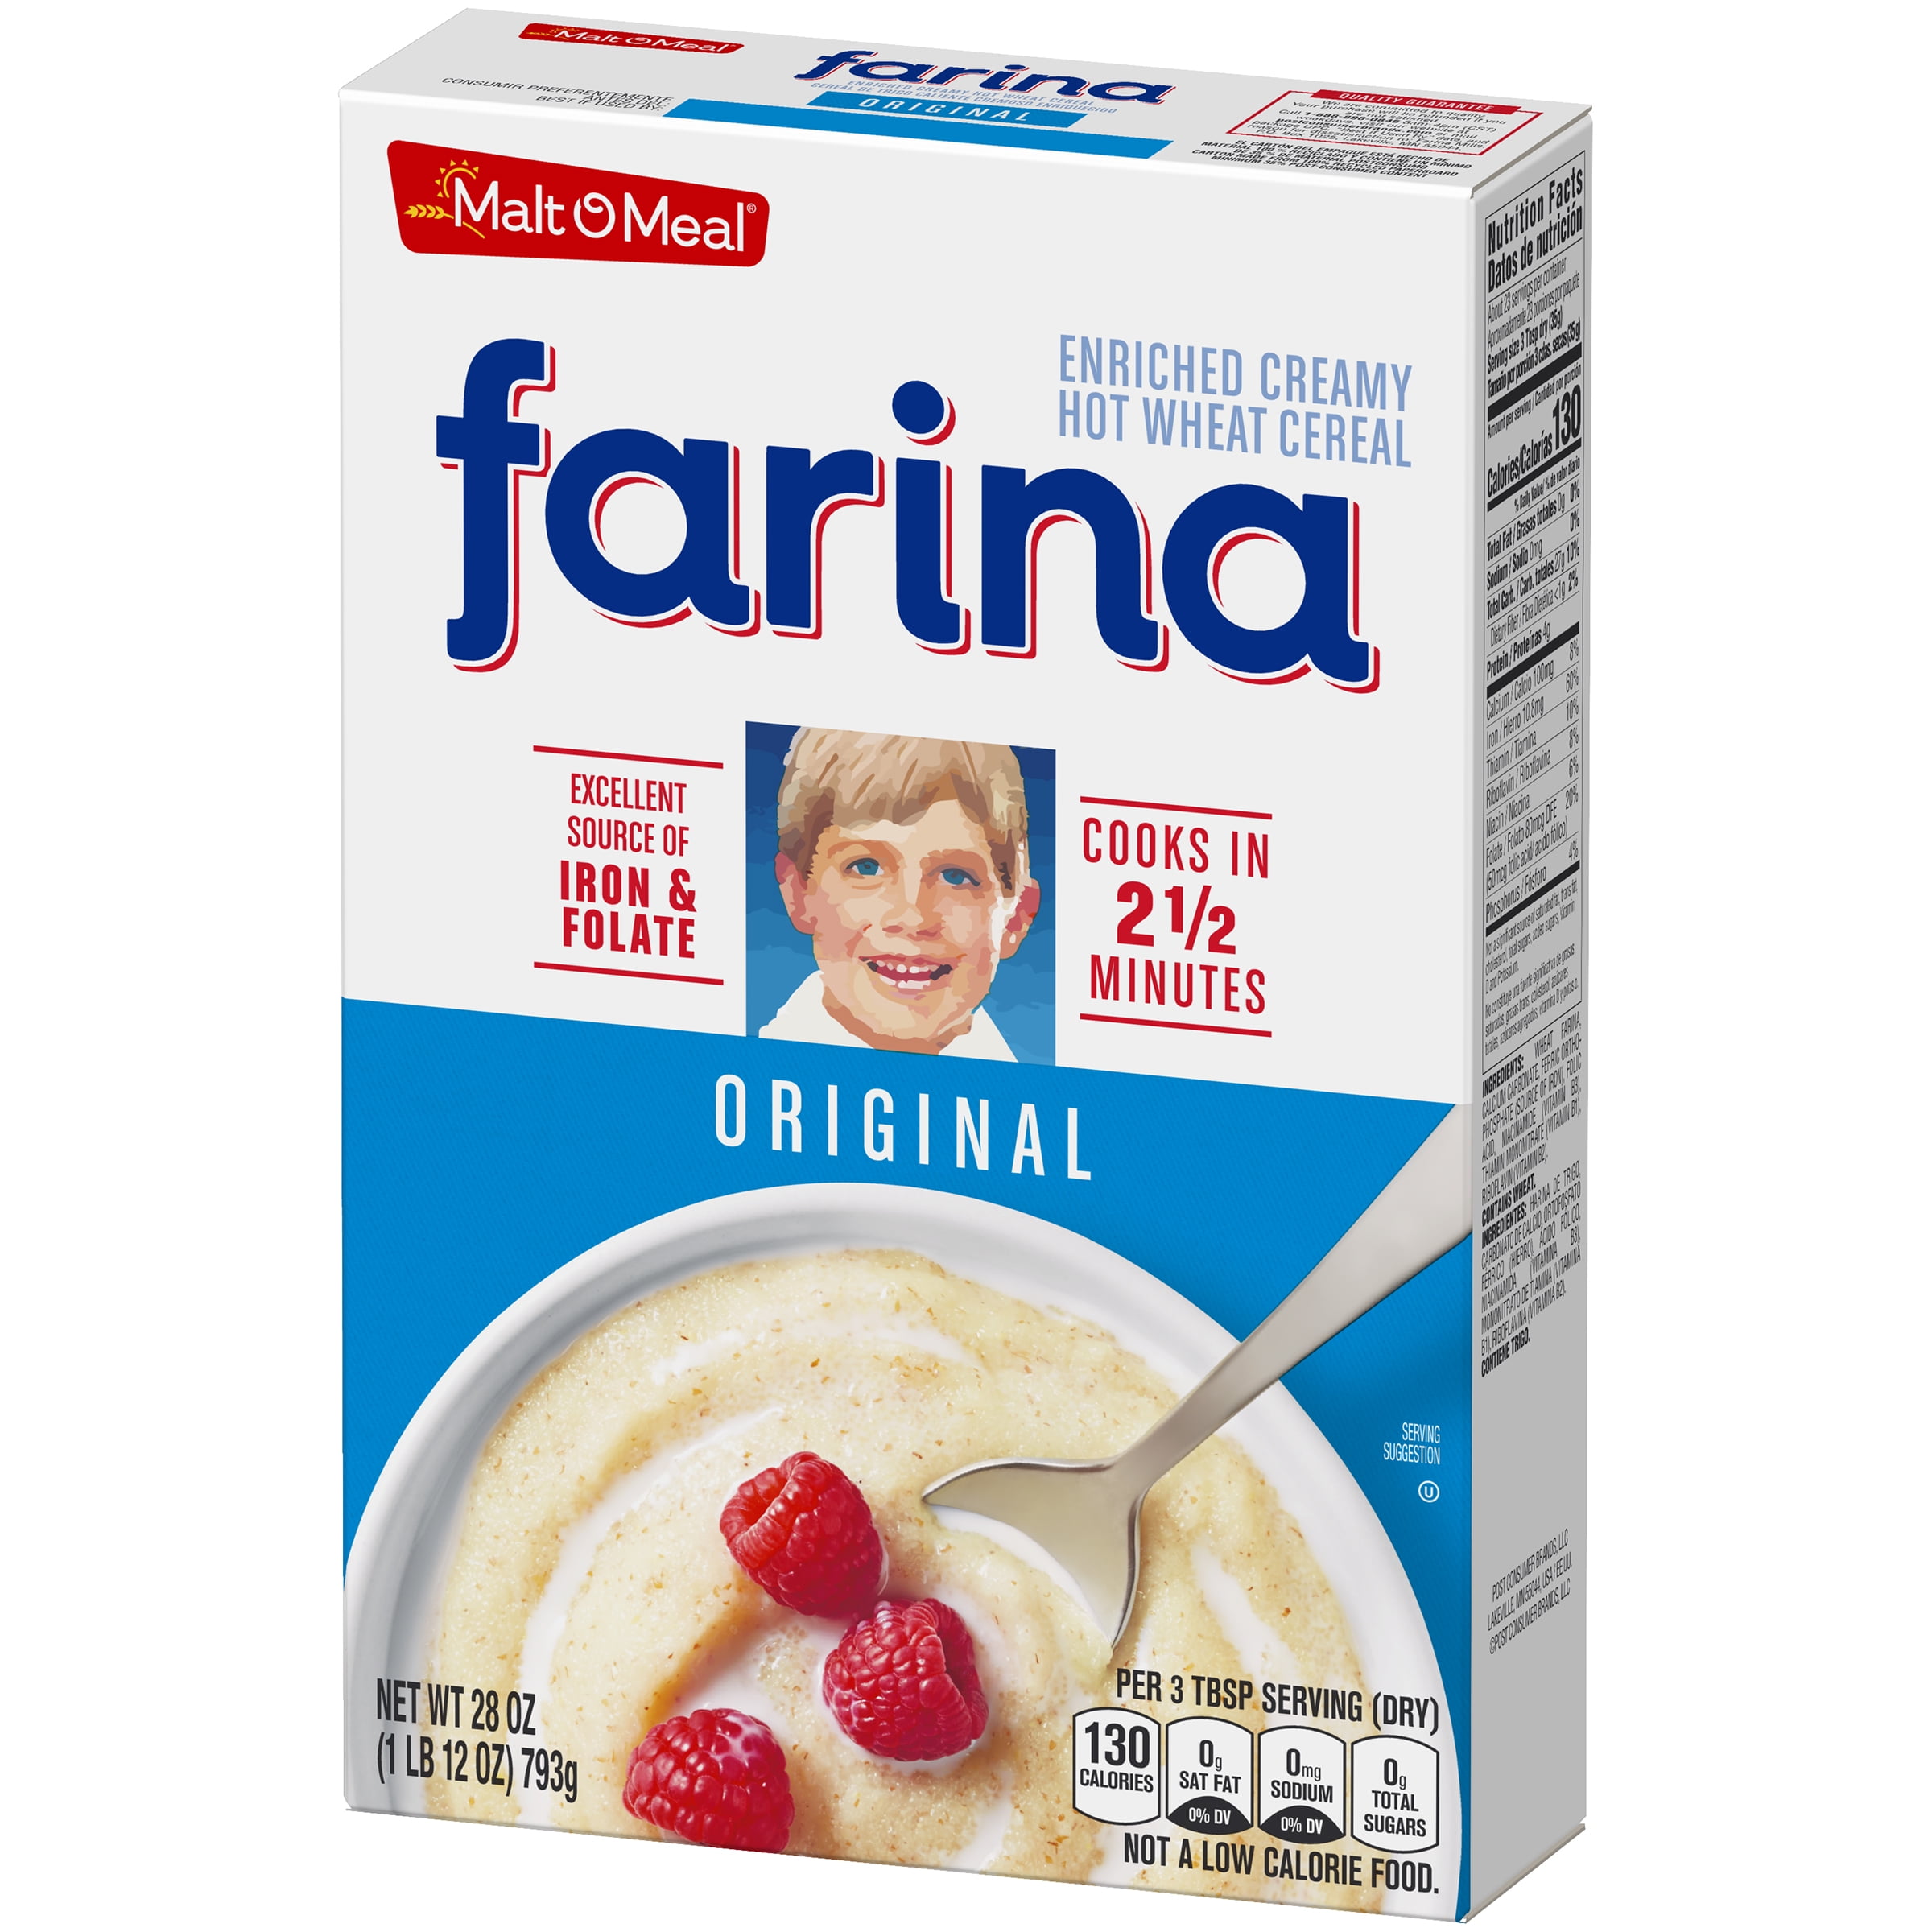
Malt O Meal Farina Fortified Creamy Hot Wheat Cereal Original, 28.0 oz -  Walmart.com

Step 2) Turn the heat on at about medium to low (but never fully at medium) and quickly add in cinnamon, vanilla extract, some sugar and salt. All relative to taste and preference so add as much or as little as you want.

Step 3) Stir the pot and Do Not stop or your Farina will thicken to much.

Step 4) Once you see the Farina come to slightest simmer turn off the heat and pour into a bowl.

Step 5) This step is completely optional (as is the whole recipe) take a piece of bread toast it add some butter and have it as a side to dip in your Farina.

Konrad Zareba Blog #1

The famous chicken and rice combo. Boring, bland, basic but most importantly nutritious. This simple meal is pushed by many such as  influencers and body builders. They say “Protein is what matters, not the taste”. This is why I eat this meal so often. I cant let the gains go to waste so the right nutrition has to be given to my body. The task is a hard one, sometimes even harder than going to the gym. I push myself to eat it and I repeat the word “protein” as I chew. As much as I hate the meal, I also love it. It is easy and quick to make and very healthy.i can’t count the times i ate the meal but i have never made it myself. So today I will try my best to explain how my mom makes the famous chicken and rice. 

Step one- Wash the rice. I always see my mom in the sink rinsing the rice. I have no idea why she does it but this step has to be mandatory because she never skips this part. I would assume that you should wash the rice till the water turns clear but you do you. 

Step two- Put the rice in a pan. This step is simple enough so i don’t need to explain. 

Step three- Put water into the pan. Don’t ask me how much water to put in cause I have no idea. The amount of water will cause the rice to either be more hard or mushy. Play around and make this dish a couple of times and see how much water is needed for the rice your tastebuds like. 

Step four- Turn on your stove on low heat and put on a cover on the pan. The rice will now steam and this will take time. So while you wait you can now hop on to the next step which is making the chicken. 

Step five- take some pre cut pieces of your chicken and season the chicken with whatever you like. I use this grilling seasoning in mine and it works just perfect. I also recommend using salt and pepper. Don’t be that person who makes unseasoned chicken. 

Step six- put some oil on a hot pan and then place the chicken and let it cook to the way you like it. The longer the chicken will cook the more dry it will be. So I’ll let you decide how long you want the chicken to be in the pan. 

Step seven- I don’t know how long rice takes to make but i think that after you’re done with the chicken the rice should be ready. Before you take out the rice, give it a taste test and check if you like the way it tastes. If it’s too hard then leave it steaming for longer and add more water if needed. If it’s too mushy then opps you’ll have to start again. 

Step eight- combine the rice and the chicken. No explanation needed. 

Congrats you have made the most simplest meal you can make. Don’t worry if this meal doesn’t taste the way you want. Each time you’ll make this meal you’ll tweak and perfect your recipe. Remember cooking is an art. Don’t follow recipes found online. Use recipes as inspiration for your meals. The most important thing is to have fun. It’s normal to mess up sometimes and this is part of the process. Have fun on your cooking journey.

Jesse’s blog, How to cook Pho

Ingredients:

  • broth (beef or chicken stock)
  • rice noodles
  • herbs (star anise, cloves, anise powder, and cinnamon stick)
  • meat (beef)
  • vegetables (onion, yellow onion, ginger, bean sprout, and garlic)
  • flavoring (soy sauce, fish sauce, and salt)

How to cook:

Step 1) Cut up your vegetables leave them aside.

Step 2) You would want to pour your broth of your choosing into a pot then put your diced vegetables in and wait for it to boil.

Step 3) Once the broth is boiling get your herbs and put them in a herb bag and put it into the broth and wait twenty or so minutes on low heat to let the flavors sink in with the broth.

Step 4) This is optional based on preference you can add any of the flavoring to make it suit your taste.

Step 5) While you were cooking the broth you should have another pot with boiling water cooking the noodles.

Step 6) Lastly, plating you would want to put the noodles into a bowl first, then the bean sprouts, next the beef, and finally the broth. The does not need to be cooked as it will get cooked when it sits in the broth.

Blog prompt: Option 2

I chose the food Pho because I just enjoy eating it, as it’s very flavorful. The ingredients don’t really connect me with anything, but the herbs because I always was interested with testing out combinations of spices. This food also was very memorable for me because it was one of the many foods I first cooked as a child and one of the first food I have a memory of eating. This food nourished me by being a good food, whenever I felt uncomfortable i would eat it I would forget what bothered me because the flavors were that good. To me this food is one of my stress food because it’s good and you can easily change around the flavors to not get tired of it. Now I at least eat Pho 2 times a week.

Steven Mercedes – Recipe

Recipe For making green bananas with salami 

-This is an amazingly simple dish to make. The first step is to get a pot and fill it up halfway with water and then apply some salt to the pot. After this you have to peel the green bananas, this can be done by simply peeling it like a yellow banana or you can use a knife if that makes it easier. I usually like to peel at least 8 green bananas but if you’re not super hungry then 4 will do. After peeling, you can put the bananas into the pot on medium high heat for about 40 minutes, but you can even cook it for 30 minutes it just depends on how you like the plantains. I personally like to cook them for 40 minutes because they come out soft and I feel like the taste comes out more, but it is just my preference. I like to have the salami cut and put on the frying pan when the timer hits 30 minutes because the salami is cooked fast. After these simple steps, you will have a delicious meal to eat, and it will make your stomach feel full for a long time. 

Green bananas with salami originate from the Dominican Republic and has been primarily ate by people from the countryside due to its widespread availability and how it easy it is to make. Though the specific combination of salami originates from the Dominican Republic, my African and Taino descendants also ate green bananas but just with different combinations. Green bananas are generally eaten but everyone, no matter what class you are apart, used to have a stigma with it. It was assumed that people who ate green bananas opposed to plantains were poor but personally I do not care about any of that because it is delicious. Overall, green bananas with salami have gotten me through a lot of tough times especially when my mom is not home, and I need to make something to eat. 

Blog #1: due 9/5

We will be using the Posting and Commenting function of blogs@baruch throughout the semester, so you’ll have to familiarize yourself with how to do this:

  1. Scroll over “Blog” in the menu bar
  2. Scroll down to “Blog #1: due 9/5”
  3. Read the instructions (see below this list)
  4. Click “+ New” in your top toolbar to add a new post
  5. Answer the assignment in the text box
  6. On the right side of the screen, find the “Categories” tab. Check the box next to “Blog #1: due 9/5” in order to properly upload it.
  7. Click the “Publish” box to complete your post

Blog #1 Prompt:

À la Danny Licht’s excerpt we read in class, from Cooking As Though You Might Cook Again, write a recipe for something you like to cook/make. You can write this in a more traditional form, like a classic cookbook, or do something a little more strange and creative, like Licht does (the tone is more personal essay/poem than instruction manual). The choice is yours! You can include photos, quotes, quips, jokes, whatever! Make it YOU.

No matter how you write it, you are required to include at least one paragraph about, either:

  • (1) where the recipe comes from, historically or culturally… What is the *objective* lineage of this dish or these food items? Is there some history around this food? Is there some social or cultural significance?
  • (2) your personal relationship to this recipe/food item… What does this dish/these ingredients mean in your *subjective* life? Is there a personal history the food helped you deal with? How did the food nourish you? Is there some personal significance?

If you don’t cook, you can describe how to do something else that requires step-by-step instructions, and you still have to include the above paragraphs, somehow. Does the task have an objective history, or a subjective personal history?

Put your best foot forward… maybe we’ll make these into a class cookbook/guidebook?!?

PS – If you need some further inspiration, check out these recipes by poets.

Welcome to Eng 2100, Section HTRF!

Hi All,

This is the class blog we will use throughout the semester. On this blog you will find the syllabus, all major assignments, the schedule and links to readings, and other helpful resources. You will be completing blog assignments that will be posted throughout the semester.

Please take some time to familiarize with the blog: read the course description and syllabus, browse the assignments, take a look at the class schedule, etc. We will go over most of what is here quickly during our first class; it would be helpful if you came with any questions you might have.

(NOTE: The schedule and assignments are still under construction and will be changing somewhat.)

Until then, enjoy the last days before the semester starts. I so look forward to meeting all of you!

-Evan