DSLR Audio Workshop
DSLR cameras shoot gorgeous video, but they are pretty terrible when it comes to audio. They’re not built for capturing high-quality audio; even when you capture it with a decent mic and feed it directly into the camera, it will be compressed and not nearly as good as audio recorded separately on a Zoom, or some other sort of handheld mic, or with a lavalier mic. Which creates a whole other set of issues when it comes to syncing the audio in post. Fun times! Fortunately, there are a lot of creative solutions out there available at not TOO high of a price.
The Rode Videomic
One thing to be aware of with the Rode Videomic is that most Canon DSLRs with video capability register a pretty audible hiss if you use them with an external microphone in Auto and with the default settings in a quiet environment. This is because the camera has an automatic feature that increases the audio gain in a quiet setting because it’s essentially looking for sound.
With the Videomic Pro, there are recommended settings you can change manually to eliminate this hiss. Unfortunately, we have the Videomic Go, so this doesn’t apply to our equipment, but I still mention it because the Pro is an affordable and very common mic for videographers who are starting out.
By setting the Rode Videomic Pro’s dB switch to +20 and adjusting the manual sound level setting on the camera to about 20%, you can achieve a virtually hiss-free recording if you’re recording in Manual.
Still, don’t worry about the hiss too much. It’s great for low-fuss recording in situations where there might be a low level of background noise (outside with birds chirping, etc., on a street with a bit of traffic noise, etc.) and if you’re in a totally silent environment there’s a good chance you’re in a controlled environment like an office where it’ll be easier to use the lav mic anyway.
Using the Tascam
The Tascam allows you to record audio from multiple mics/sources at once. You can record that audio separately to be synced later or feed it directly into your camera to avoid having to sync it. There are good reasons why you may or may not want to do that.
If you’re feeding audio from multiple mics into the Tascam, it will record them separately which can help you in editing later, but when you’re monitoring it on your headphones each mono (single-channel) track will be combined into a stereo (multichannel) sound. The same goes for how the sound will appear in your camera if you feed it directly into the camera (and at a lower, more compressed quality to boot) meaning you will lose the ability to mix those multiple sources separately in post.
It will, however, allow you to avoid the often time-consuming process of syncing your high-quality audio with the clips filmed on your camera that are paired with the low-quality built-in audio.
You can sync audio within Premiere Pro using the Merge Clips feature (demonstrated below) which is a lot easier than trying to do it manually.
But even still, it can be a pain, especially when you consider that DSLR interviews are by necessity often broken into shorter clips than you might find with other video cameras (they can only record for about 12 minutes before they will stop recording automatically and you will need to begin a new clip).
So whether or not you decide to input the Tascam audio into the camera will depend on your individual needs for your project.
In-class exercise
Pick a partner and set up your cameras for an interview with the lavalier mic. Take turns interviewing each other about what you did on your snow day, recording on the Tascam while also feeding the audio into the camera. It only needs to be a minute or two. Upload your footage and your audio into a new Premiere Pro project, export it and submit it to me, either with Vimeo or via WeTransfer.
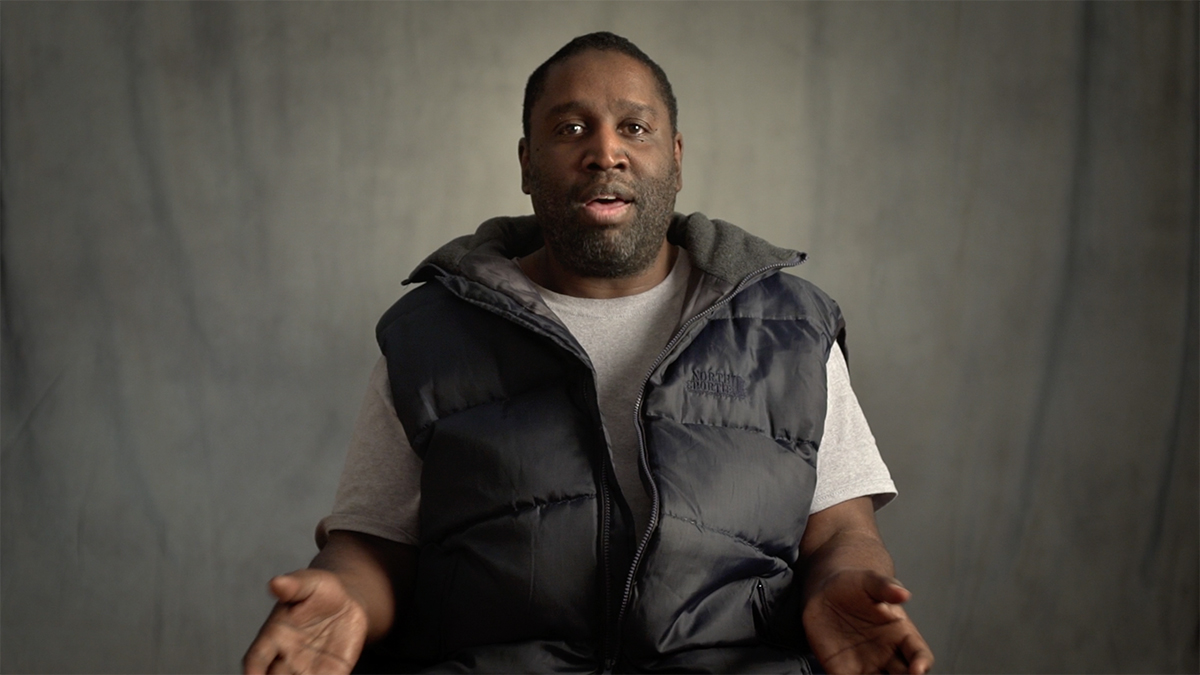
Remember to ask questions in a way that invites answers with complete sentences. The classic way to frame your talking heads is to place them on one of the thirds, angled so they’re slightly looking into frame but not directly at the camera (you can accomplish this by sitting/standing directly next to the camera and instructing them to look at you). Try for a background with some depth or visual interest to it, and make sure there’s some separation between the subject and the background.


Sometimes, though, filmmakers are breaking with that usual format for more stylized interviews, with the subject centered and looking directly into the camera, or some other creative framing. This is the sort of thing that should only be done if you have a very specific vision in mind and there are good reasons for it. Maybe the subject is an activist and is addressing viewers directly.
Remember that when you edit your interviews into a finished short doc, we should only see footage of the person speaking a fraction of the time. The rest of the time, there will be B-roll layered over their voice. The only times we need to actually see this talking head shot are 1) after they first start to speak, to establish who they are and what they look like, 2) any moments where the subject is being especially human: poignant, funny, tearful, and 3) if it’s been awhile (in video terms) since we’ve seen them and viewers are at risk of being unclear about who is speaking.
At some point you may be fortunate enough to be working on a crew with lighting technicians, but for now, focus on finding natural light to illuminate your subject.