First up: Your Homework:
WATCH FILM HERE: http://vimeo.com/78979216
Your assignment is to watch the first part of All Watched Over by Machines of Loving Grace. This is a three-part BBC2 series written and directed by British documentarian Adam Curtis. Unlike Downloaded, I feel that Curtis’ film has more critics that find the film’s central theses to be flawed and his films laced with fallacies, and I encourage you all to watch the first film in the series with a critical eye. After watching the film, I want you to take a screenshot of a scene you find interesting, include said image in an html document. Beneath the screenshot image you are to write 200 words detailing your thoughts on the scene the image is meant to illustrate*.
Remember in our class on Tuesday I told you I want to give you a short homework assignment where you are to concentrate primarily on my expectations of you as academic writers. I don’t want anyone to be shocked if they get a low score on Midterm Proposal A because they thought their copy/research was secondary to the techniques I’ve been demo-ing in class. I’m not going to be overly strict, but I want the points made in your commentary to be cohesive/have cohesion.
*BONUS — If you use the following tutorial I’ve crafted in order to make a working animated gif as the central image in your homework I’ll give you BONUS points. It has to be an animated image from All Watched Over by Machines of Loving Grace.
DEMO 4: The Animated Gif
For today’s demonstration I’m turning the class’ attention to the animated gif. The animated gif is a fun addition to many html based deliverables, blog posts, and web apps.
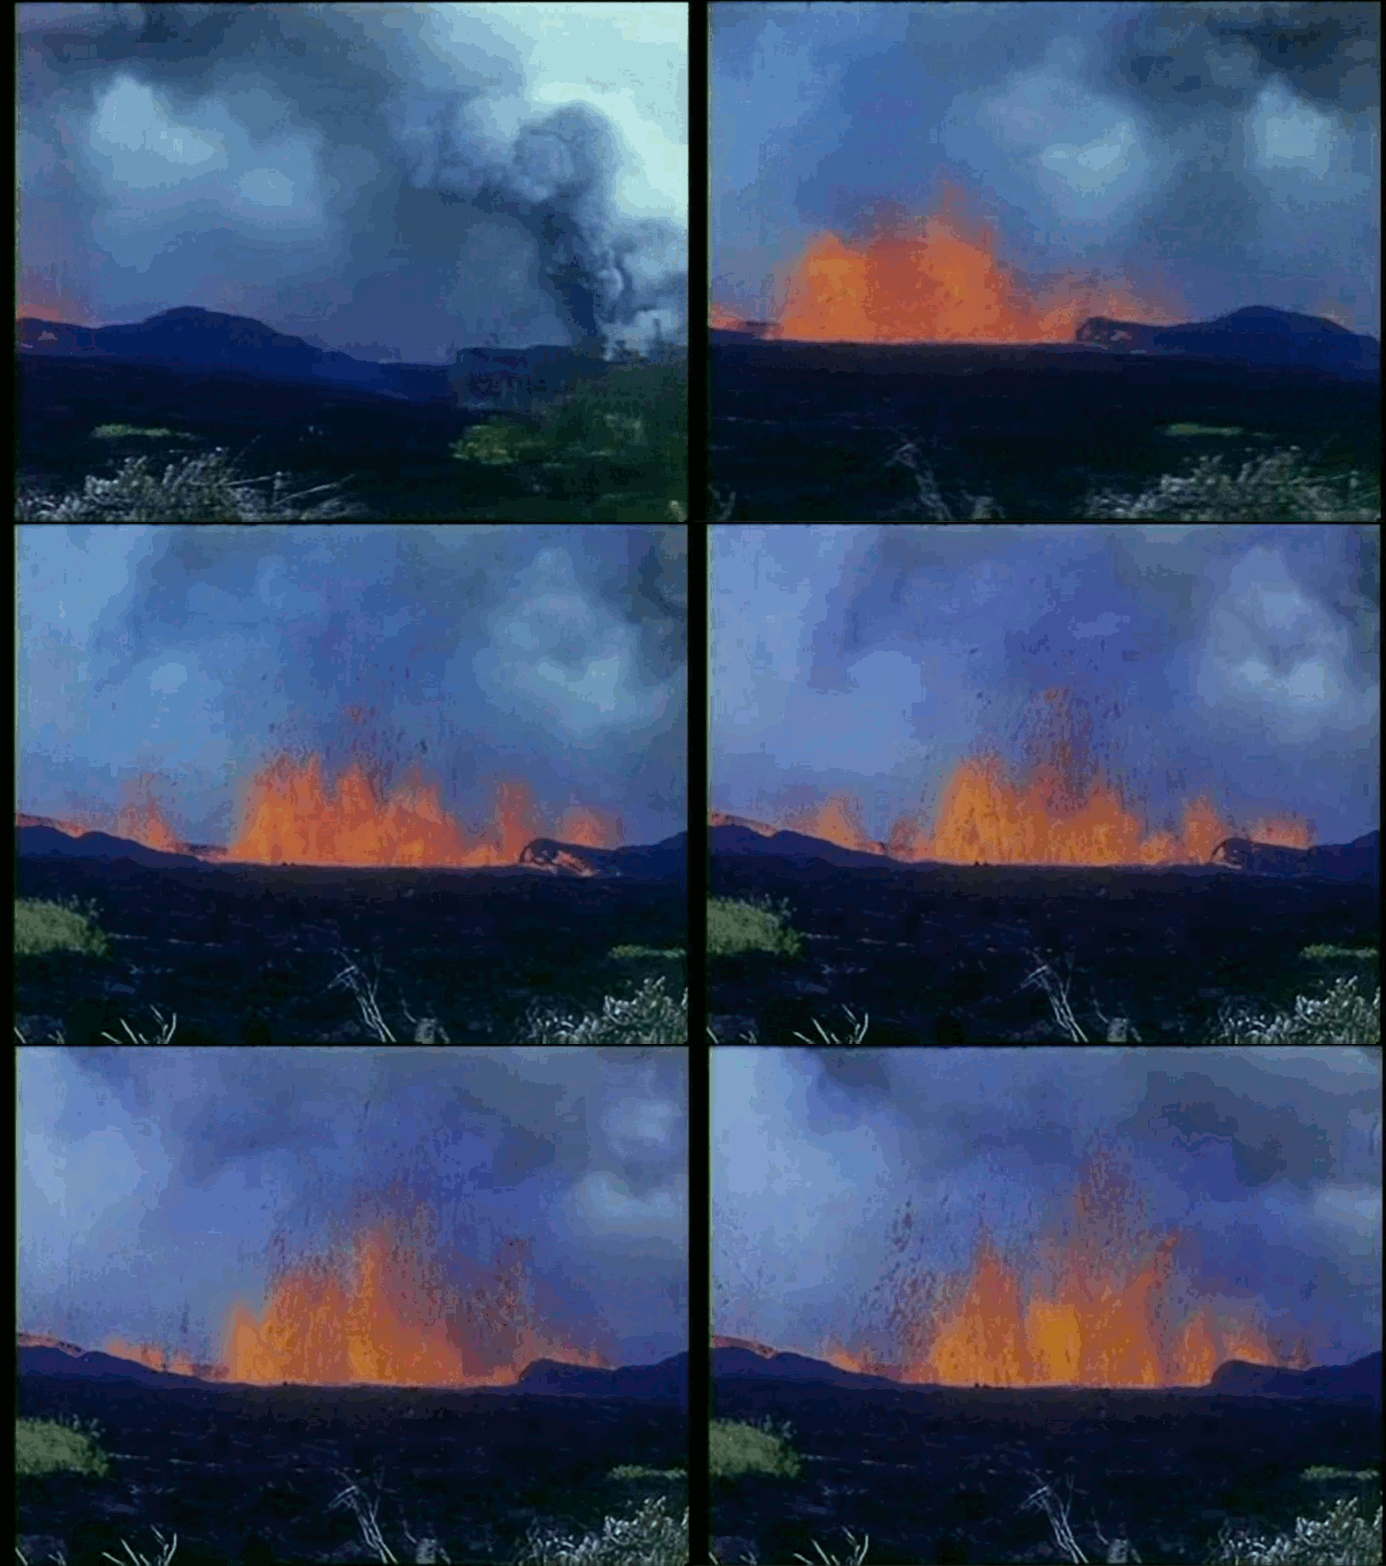
Today I’m going to show you how to make this animated gif in particular:
Okay, I’ll admit, this isn’t exactly the most amazing animated gif out there, but it is made up of only six frames. If you use this technique to create an image with more frames per second you might come away with something as cool as one of these:
Buzzfeed: 15-time-lapse-gifs-that-will-change-the-way-you-see-the-world
Brother Brain: A video game animated gif themed tumblr blog.
Ann Street Studio: Cinemagraphs
So let’s get to it… First we are going to need something to animate. Personally I find The Internet Archive to be an excellent resource of public domain, copyright-free, and creative-commons films. For this demo I selected a short film on the erupting volcanoes of Hawaii.
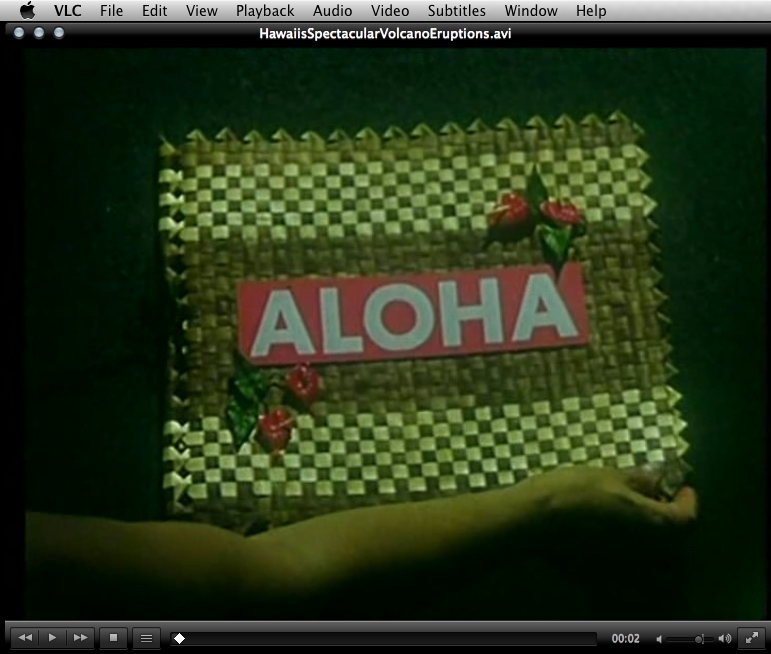
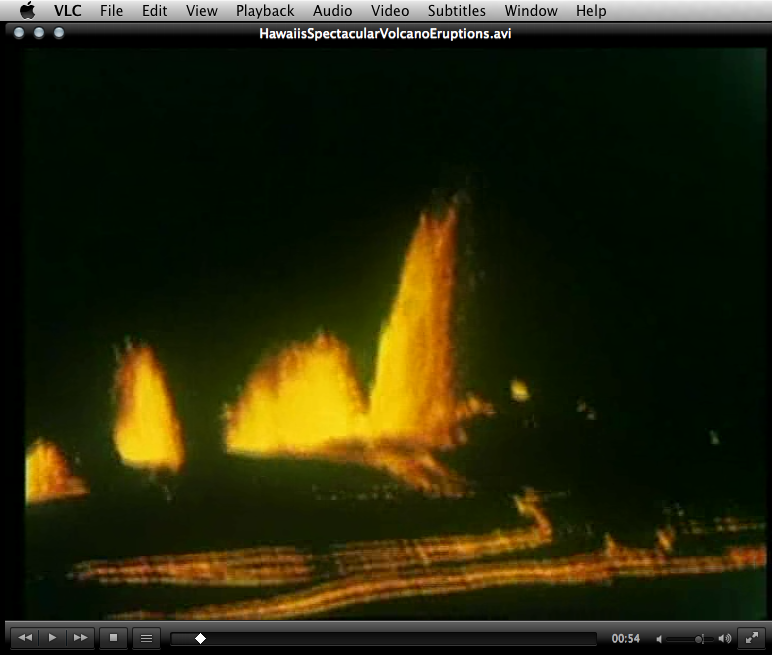
At the foot of the page there is a hyperlink for downloading the .avi file. This is a video file containing the entire short film. From there I opened up the film in a piece of software called VLC Player (An open source video player I highly recommend).
Next I took six screenshots from six successive seconds of digital video. The issue here is that most digital video files do not play a frame of video per second, instead they usually play between 24 and 30 frames per second. This is apparent when you see the choppiness in my final animated gif illustrated at the beginning of the tutorial.
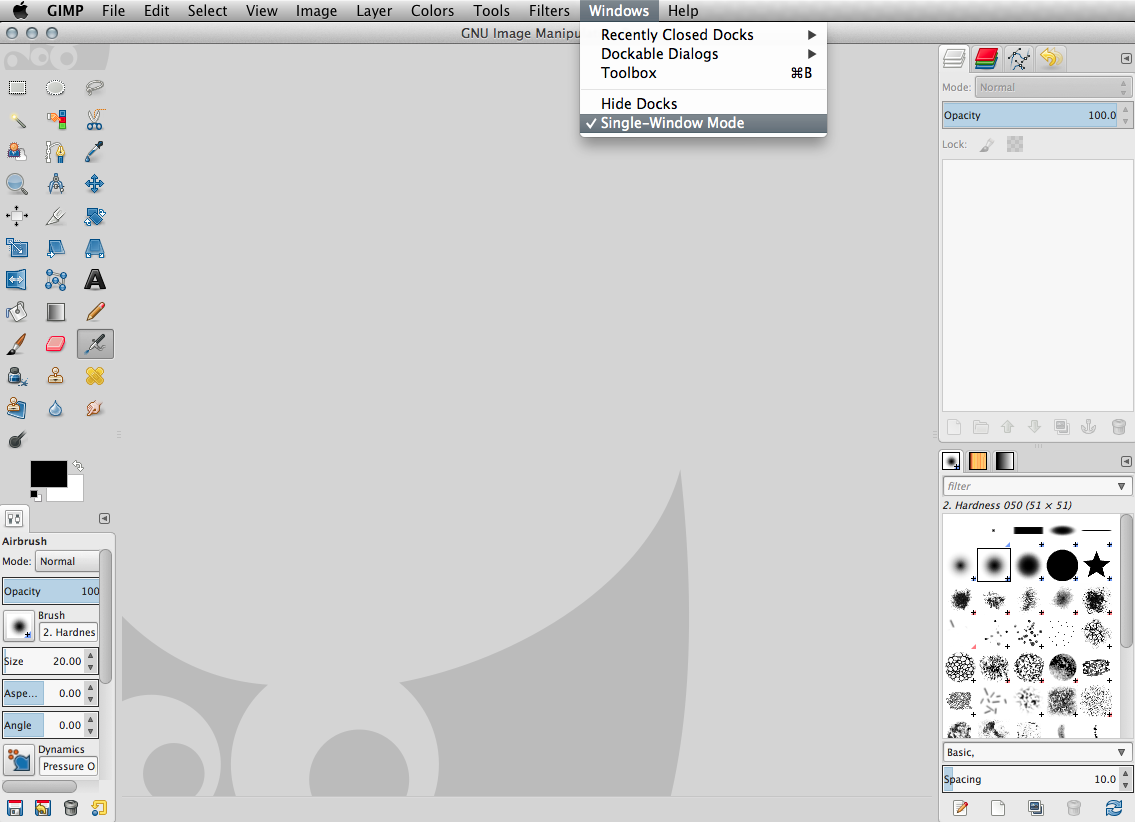
Now I have a folder with all of my images in it. I’m going to keep this open in my finder window (Windows Explorer if using a PC). Now it is time to open Gimp. I will be opening it and immediately setting it to single window mode for the purposes of this tutorial.
Next I want to open the first of the images I downloaded. Notice I also changed their names to reflect the appropriate order of the animation.
Now we need to concentrate our attention to the top-right side of our user interface. This may be located in a different position if you are in a different version of GIMP. Regardless of where you find the layers panel, it should look similar to this:
What I want to do now is make sure that all of my images that will be necessary to create the animation appear in this panel. I could create new layers, meticulously open up each image in a new space. With Mac (not using a windows or linux machine for this tutorial) I can just drag each image file in succession to the top of the first image and I see their thumbnail representations appear in the layers panel.
But in my moving my files around, I created an empty layer and got my layers all out of order. This is easily fixed, I just drag the images into correct order from within this layers panel, simple as that.
Believe it or not we are almost done. You don’t believe me, well, check out the animation preview option illustrated here:
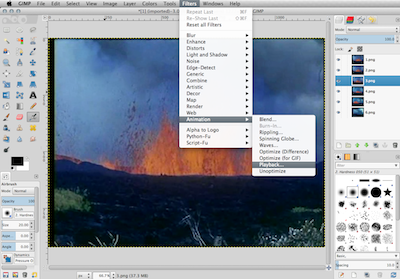
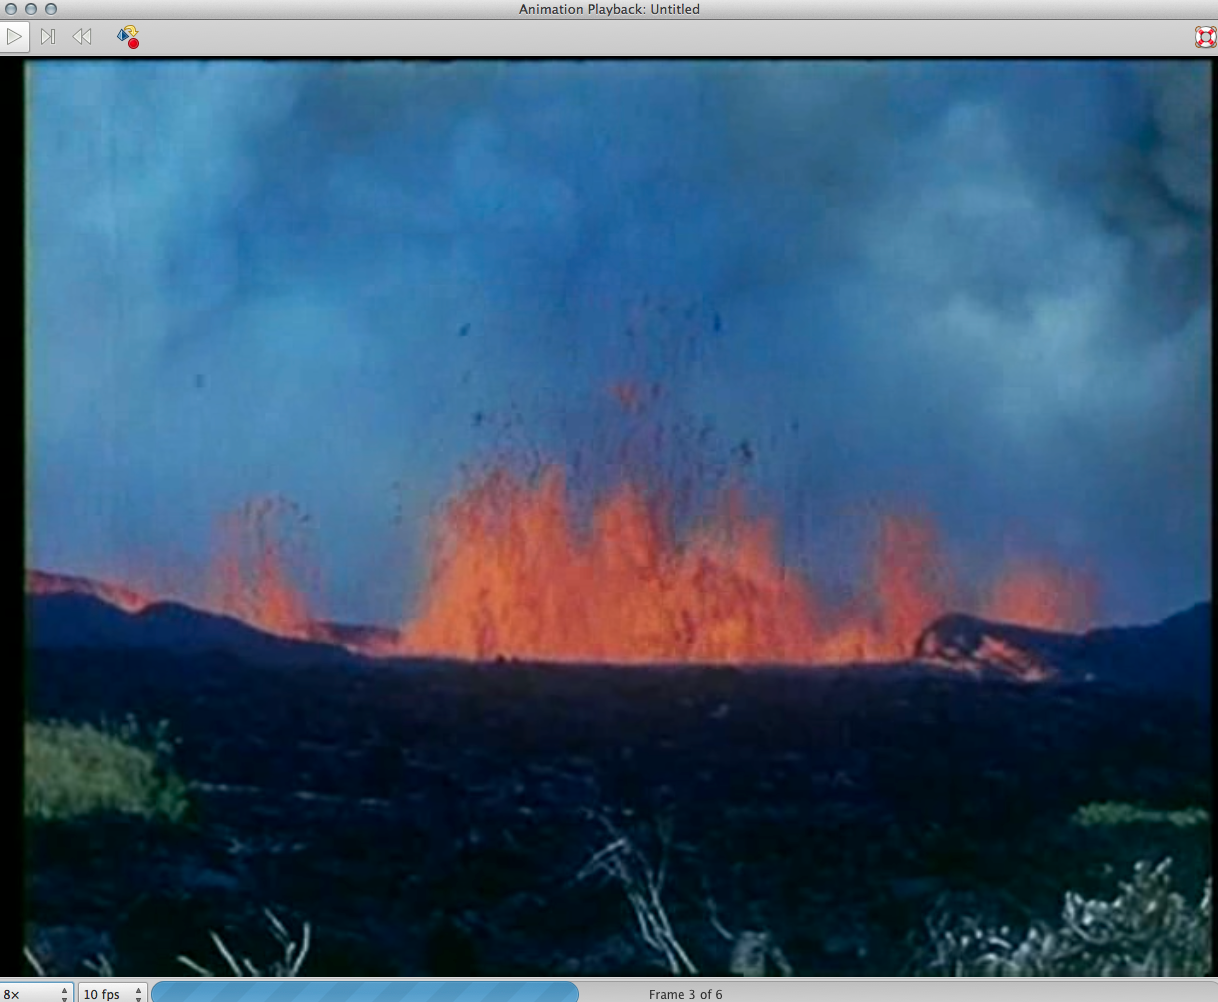
Now we could just stop here, export our image, and we would have a working animated gif. But before we wash our hands of this, how about we give our animated gif some customization. Maybe I want some images to play longer than others? This is simple to accomplish, all we have to do is right click on each layer and access the Edit Layer Attributes option:
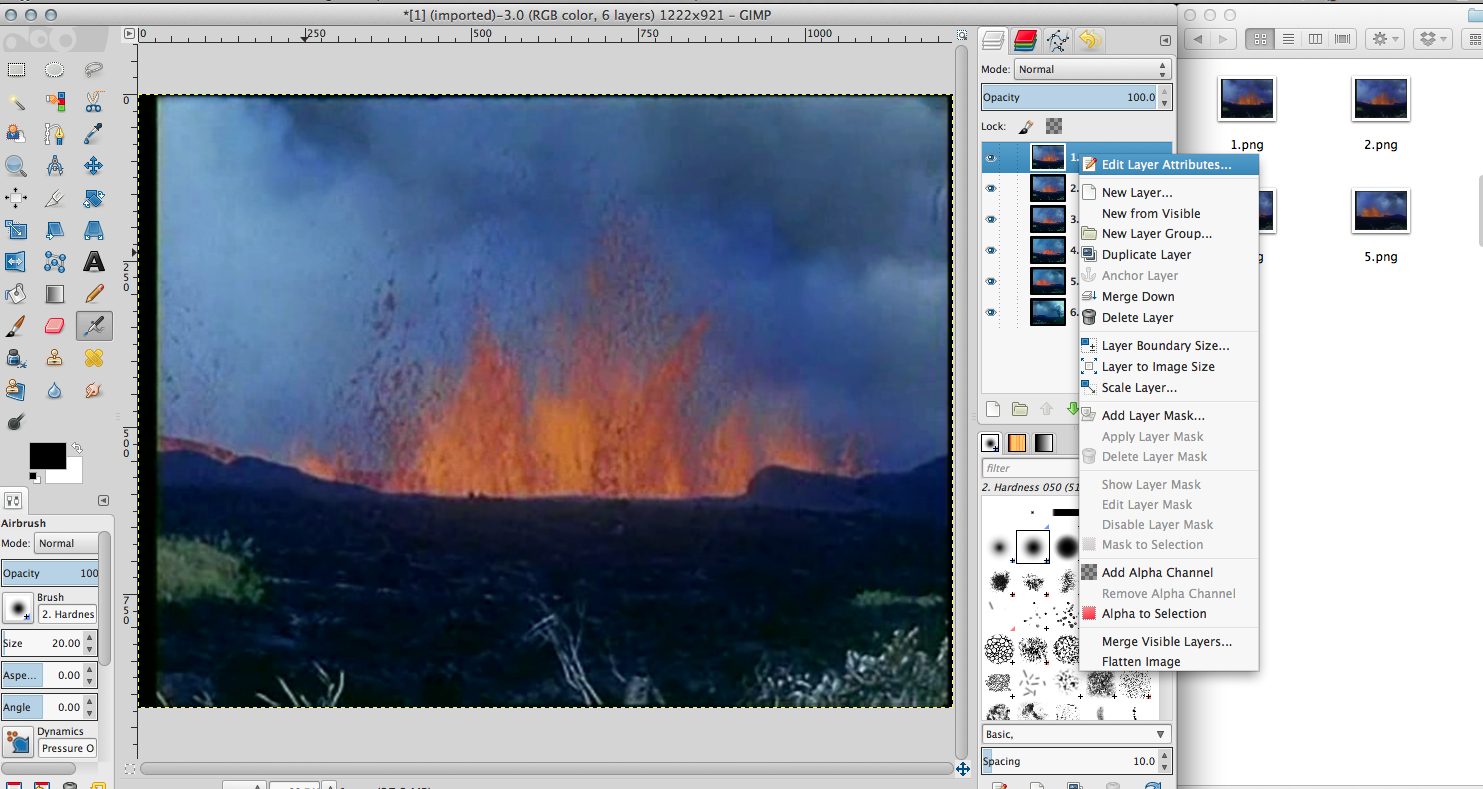
A box should pop up and here we will write in parenthesis next to the title of each layer the number of milliseconds we want each frame to appear in our animation
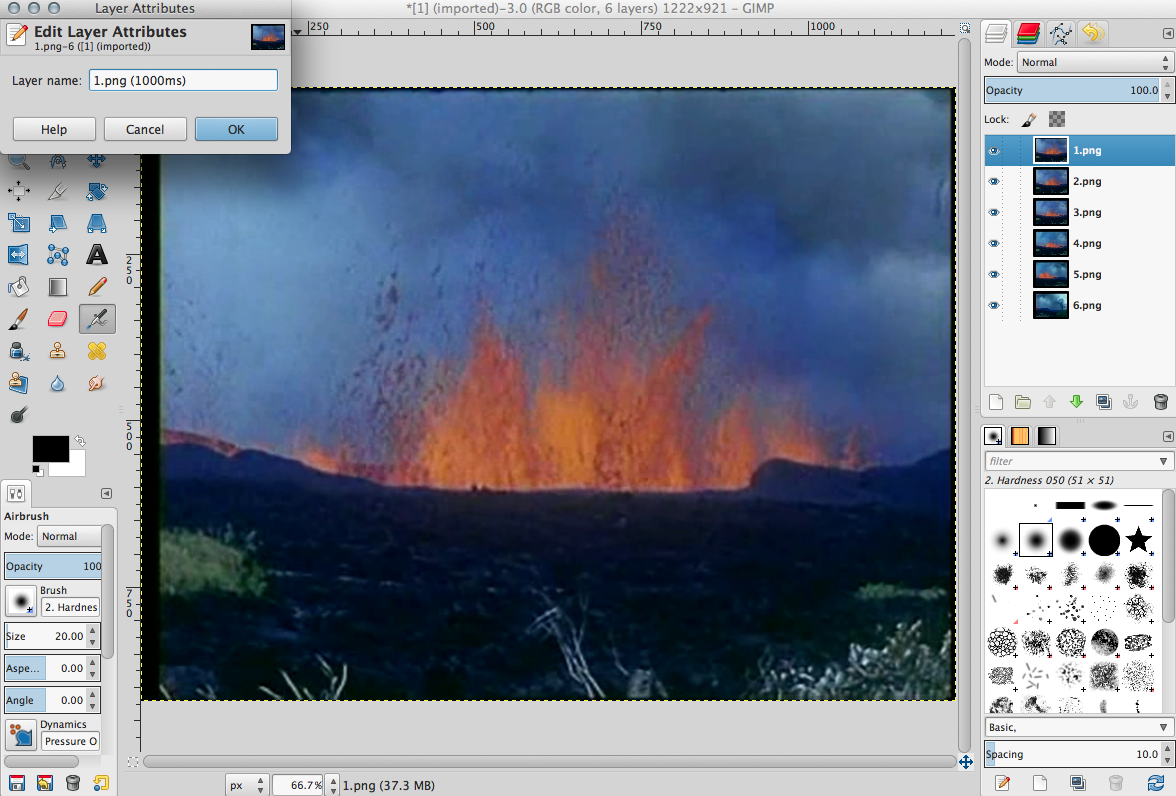
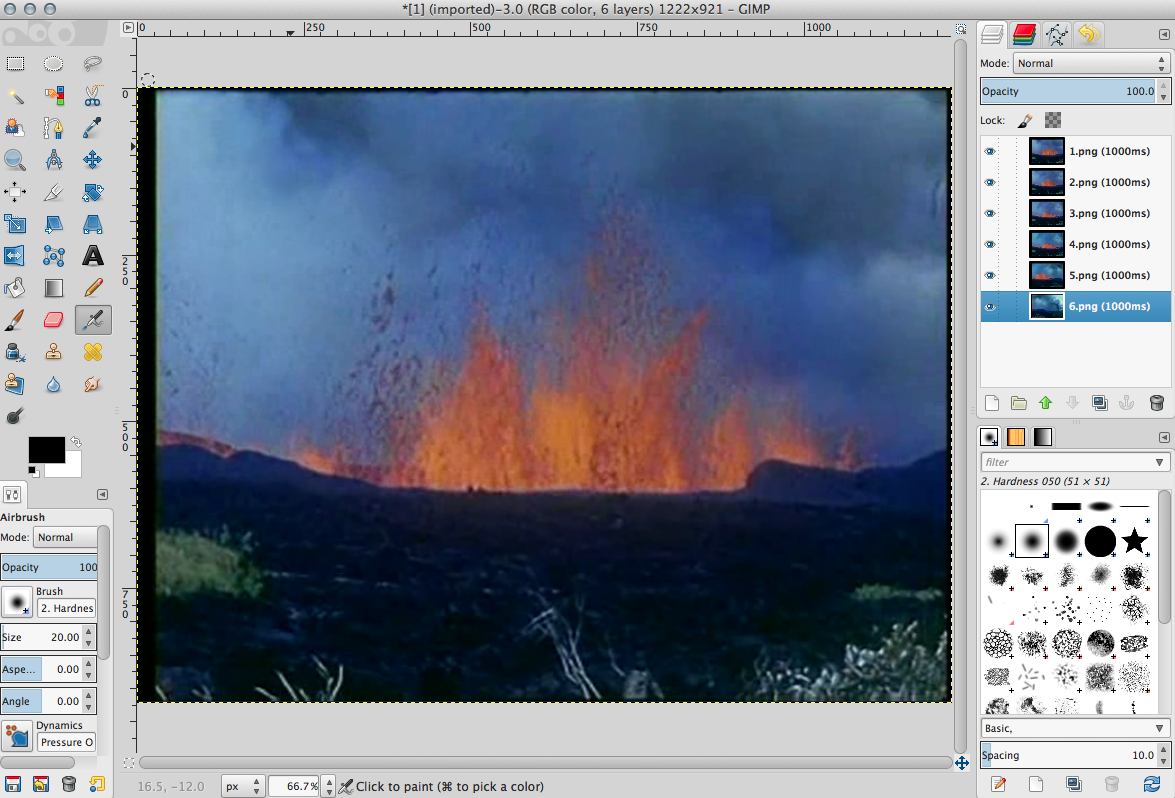
GIMP can recognize milliseconds (there are 1000 of them in one second), so most of the images appear for a slightly different amount of time in the context of what the animated gif will display. Just by putting the time limits into parenthesis next to each titled layer in the layers panel we can give some specific instructions as to how quickly the animated gif will reach conclusion.
Now you can repeat the step where we looked at the animation preview if you are curious as to how your new time declarations affected your animation.
Well, it is time to finish our creation, so simply select FILE>EXPORT AS…
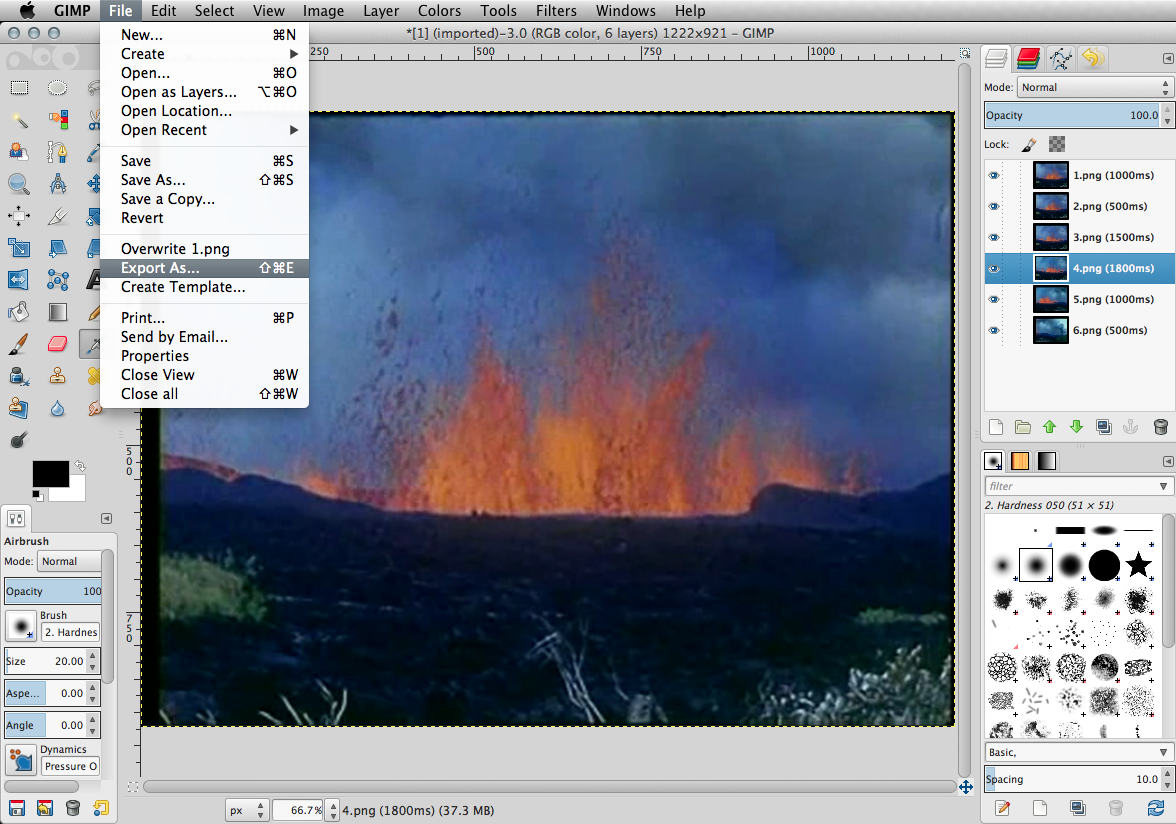
Which should bring up the following menu. Make sure you select GIF image and declare your file with the .gif extension.
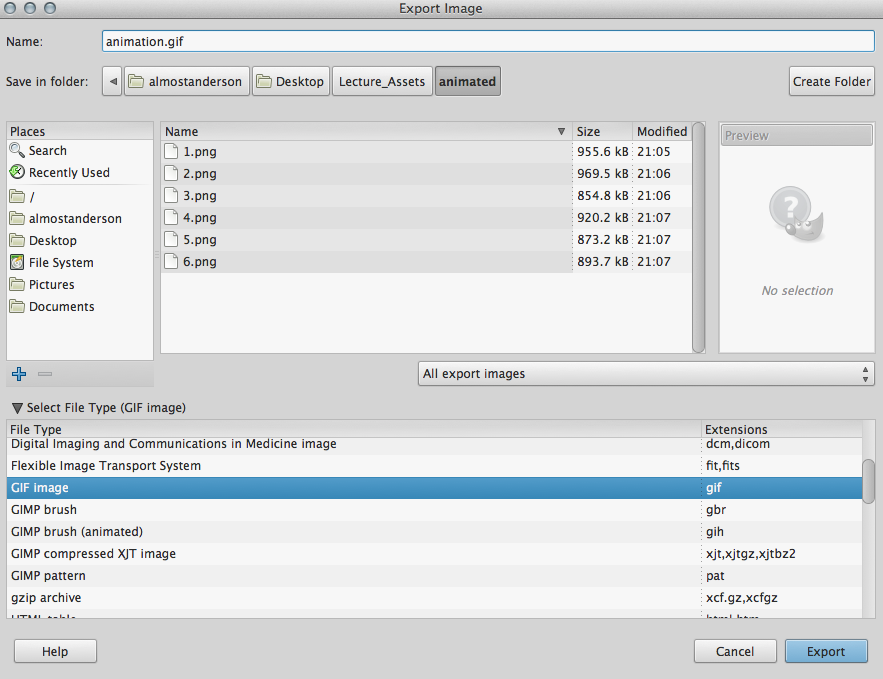
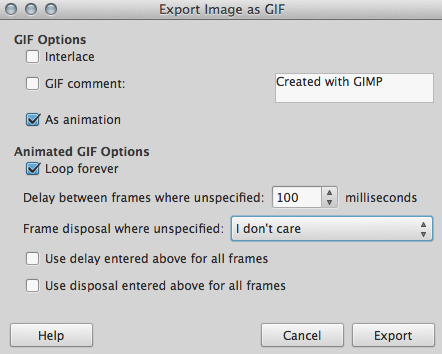
Now you should see the following final menu:
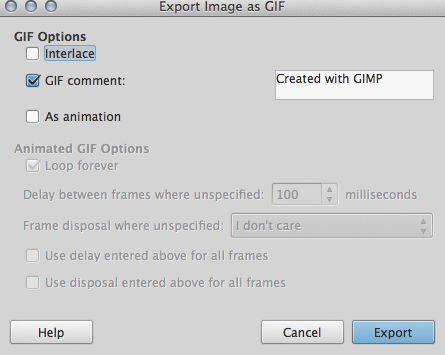
Now just a few adjustments and…
You have just exported your very own animated gif!!! Congrats.

