Multimedia Reporting Fall 2019

Class Agenda: Wednesday, October 2

Intro to Radio Reporting

Photo by Youth Radio

For your radio stories, you’ll be creating something called a wrap: a scripted feature with narration, natural sounds, and sound bites all woven together.

Sample wrap.

Sample radio script.

Here are some basics you’ll want to keep in mind as you set out to collect sound:

Choose your environment wisely. Be aware of your surroundings. If you interview someone under a subway track, your recording will be impossible to understand. Pick a relatively quiet space. A little background noise is fine and adds atmosphere – except for music. Music makes editing difficult, so avoid it if possible.

Check your batteries beforehand. It’s a real bummer when you start interviewing someone and realize you only have ten minutes of life left on your recorder or phone. Bring backups!

Cell phones off. Yours and theirs. If you’re using your phone to record, make sure it’s set to silent.

Don’t forget your nats. Natural sound is a crucial element of any audio piece. Think about what sounds will most effectively place your listener in the scene. Footsteps, dishes clinking, phones ringing. Don’t be afraid to get in there and get close. Music is fine to use as a nat sound, but not as background to an interview. It will mess up your ability to edit.

Don’t forget your ambi. “Ambi” refers to ambient sound, also known as room tone. Basically, this is the background noise from wherever you happen to conduct your interviews. Even if you record in a very quiet place, nothing still usually sounds like something because of how the acoustics vary in different rooms. Before or after every interview, always record 90 seconds to two minutes of ambi. This will go under your narration to make the story feel seamless.

Ask open-ended questions. Yes or no questions won’t give you good long responses filled with usable quotes.

Get close, but not too close. Putting a mic right up against someone’s mouth can result in popping and crackling sounds on the recording. Make sure to test your equipment so you know roughly where to hold your recorder for optimal sound quality.

Ask your question, then shut up. Active listening is a fantastic skill for a journalist to have, but if you keep murmuring “Uh-huh,” “Yeah,” and “Sure,” while they’re answering your questions, you won’t be able to use the material. Stick with smiling and nodding.

Using an audio recorder. Always monitor your sound with headphones while recording, if possible. Hold the mic 1-2 feet from the interviewee’s mouth. Never let the person you’re interviewing hold it. Use the handle to reduce handling noise.

A couple more radio stories:

Example of a clever host intro: Scottish town wants its witch bones back

A small town in Italy offers houses for sale for less than an espresso

Upcoming dates:

Monday 10/7: Pitches due for radio stories. During Monday’s class, I’ll give a quick tutorial on using the Zoom audio recorders and then we’ll workshop your pitches.

Scripts for the radio piece will be due Wednesday, October 23.

Final produced radio story will be due Wednesday, October 30.

Guidelines for radio pitches:

Assignment #2 will be a 5-minute news radio feature (a “wrap”). A wrap is a scripted radio piece that weaves together natural sounds, interview clips (known as “actualities”), and reporter narration to tell a story.

These are the components you are required to submit for the final draft:

  1. A good headline/title.
  2. Your final 4-5 minute edited audio file, posted to Soundcloud and embedded on the blog or on Exposure.
  3. At least one photo.
  4. A slightly reworked version of the script that reads like a normal news story, similar to the above examples.
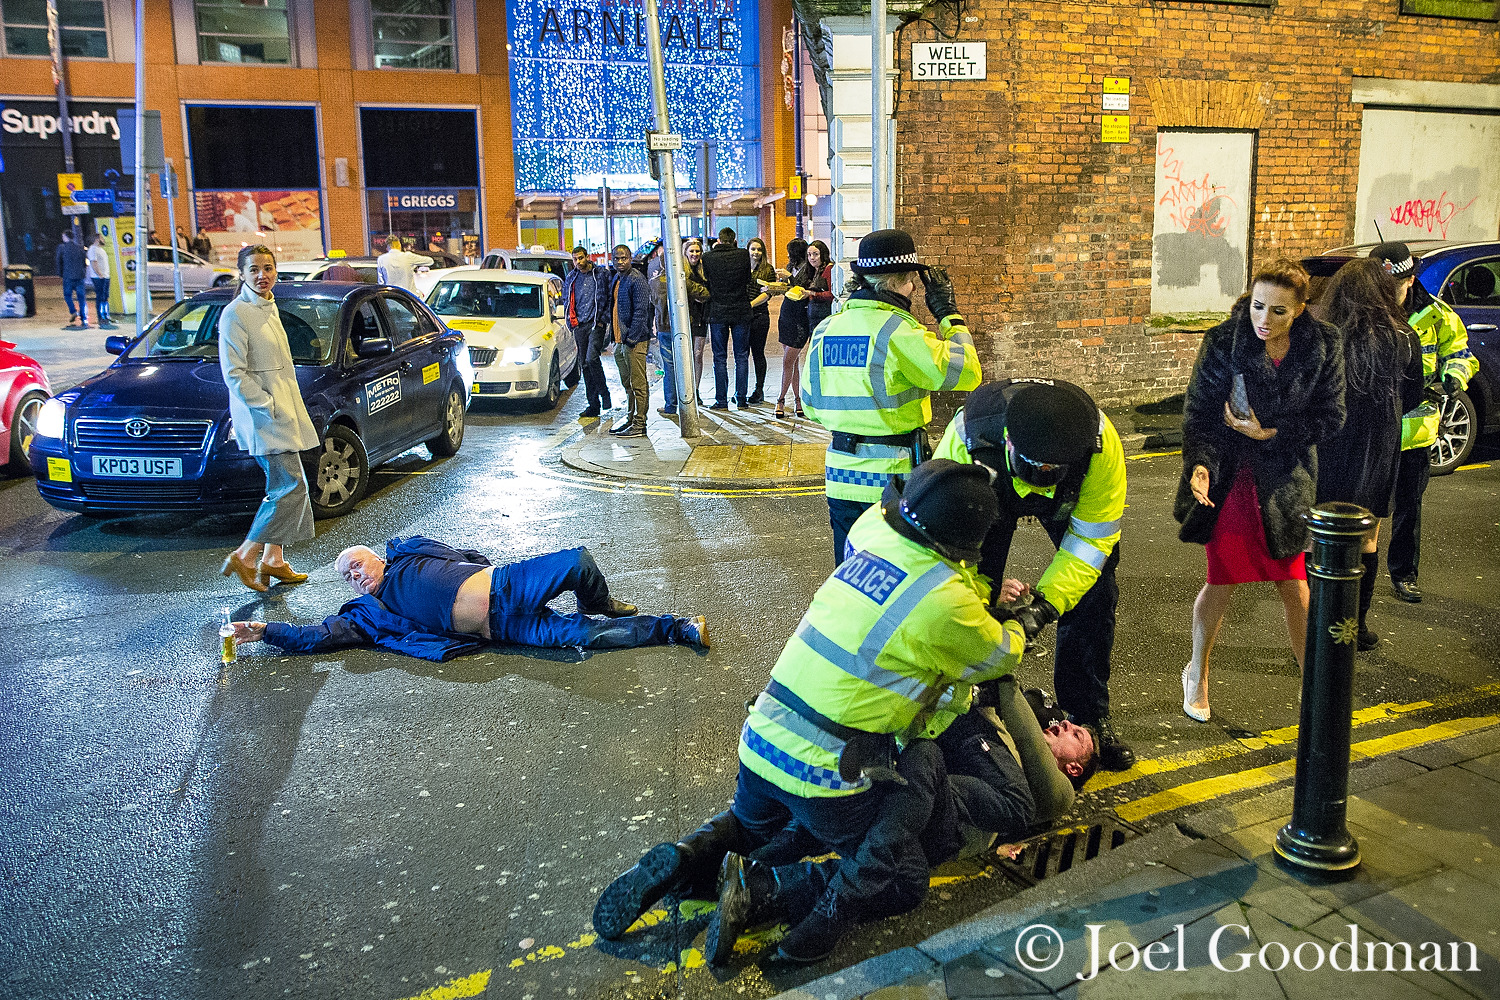
 

Class Agenda: Monday, September 23

On the docket today:

  • Go over how to post your photos and captions in Exposure.
  • Finish looking at your scavenger hunt images.
  • Talk about Photoville and some of the projects you chose to focus on for your assignments.

Exposure:

  1. Select “Create your first story.”
  2. Give it a title and subtitle.
  3. Upload a cover photo.
  4. Start adding photos and text. I recommend adding your captions AS text, not with a “caption” option.
  5. If you leave “Group Title (Optional)” empty, it will disappear when you publish.
  6. Add any links if relevant.

Upcoming dates:

Wednesday’s class 9/25: Production day on your photo essays

Monday 9/30: No class

Wednesday 10/2: Photo essays due by class time

Monday 10/7: Pitches due for radio stories.

Class Agenda: Wednesday, Sept. 11

Reminders

No class on Monday.

And if you haven’t signed up for a Photoville time slot yet but intend to, please do so ASAP at the Google link.

Caption writing

Just because photojournalism is a visual medium, it doesn’t mean you get to be any less thorough when it comes to names, facts, dates, etc. You need to always make sure you get the names, locations, professions, ages (if relevant) to include in your captions. The Who/What/Where/When/Why.

Washington Post guidelines:

Freelance Image Metadata Fields

“A caption should briefly and clearly describe in a complete sentence what is happening in the picture, including an active verb (‘someone does something’). This will allow our internal systems to take sections of the sentence and automatically create keywords. In many cases, a single sentence will suffice. A second sentence is acceptable if it adds additional information, follows the required formula and does not editorialize.”

Caption example:

BEVERLY HILLS, CA – JANUARY 11: Actress Kate Winslet holds her award at the 66th Annual Golden Globe Awards on January 11, 2009 in Beverly Hills, California. Winslet won the Golden Globe for best supporting actress for her role in “The Reader,” as Hollywood set aside labor strife and a recession to honor the year’s best performances. (Photo by Rich Lipski for The Washington Post)

Notice how the first sentence is in present tense, describing what is literally happening in the photo, and the following sentence is in the past tense, giving background and context. 

In a photo essay, the captions play the additional role of shaping a narrative. So while wire photos and breaking news photos might all include similar captions because most likely they’ll only be used one at a time, your captions in a photo essay will need to follow a somewhat more narrative shape. Meaning, the first one will include a lot of that 5W’s stuff, while the additional captions might fill in the blanks some more.

In-class editing exercise:

  • Practice using Lightroom for touching up photos.
  • Choose your best pictures from the scavenger hunt and submit them to me in the Journalism Share folder.
  • Screening and feedback on photos.
  • Send via WeTransfer to emily.johnson@baruch.cuny.edu

Class Agenda: Monday, Sept. 9

Announcement:

No class on Monday, Sept. 16; take that time and work on your photo essays instead! This is because I will be requiring everyone to pay a visit to Photoville at some point while it is open over the next two weeks. It opens this Thursday at 4pm and runs through Sunday. Then it closes for a few days and re-opens from Thursday through Sunday again.

I encourage everyone to sign up for one of the time slots when I’ll be visiting Photoville so I can introduce you to various photographers whose work is being shown. If you can’t make it for any of these time slots, that’s okay; you can go on your own at a time that works for you. Everyone will be required to do the same assignment regardless of whether or not you go with the group or by yourself.

Assignment:

Take at least three well-composed photographs of things you see at the festival. Pick an exhibition or an event (panel discussion, walking tour, etc.) to focus on. If the photographer or curator of the exhibition is there, interview them. If not, there should be plenty of background info about the project in the container itself or on the website. Write a short (2-3 paragraphs) blog post about the exhibition: what you liked about it, what you learned about the process, what it is trying to say, if anything, what issues the images raise. Please include any relevant links along with your three photos in the blog post.

Sign up for Photoville visit time slots here.

Here are its hours of operation—make sure you check before you go!


Class Discussion: Pitch workshop

We’ll workshop everyone’s pitches as a class. This is an opportunity for you all to put on your editor’s hats. Ask yourselves: Is this a good story? Why or why not? Is there a clear angle? Is it visual in nature? Is the photographer going to be able to get the access they need to pull it off? What would make it a more focused or stronger pitch?

Next class

We’ll be editing and screening the photos you took during your “scavenger hunt” last week, so make sure you have them accessible at the beginning of class.

Class Agenda: Thursday, Sept. 5

First: A quick review of DSLR settings by practicing with CameraSim

Also: WB

White balance refers to the setting that controls for light temperature. If your camera is set to the incorrect WB setting, your images are likely to turn out looking a little too blue or a little too yellow. The icons are a pretty clear description of the lighting conditions they’re meant to be used with.

In-Class Assignment: Photo Scavenger Hunt

Take one of the school cameras and pair up in teams of two or three. Go out within a reasonable radius of campus and start taking photos, looking for at least 10 strongly-composed images that capture some of the following elements of composition (some of these will inevitably contain multiple elements, and that’s fine). Please make sure everyone in the group gets  roughly equal time with the camera.

Contrasting colors
Monochromatic colors
Symmetry
Pattern
Rule of thirds
Close-up detail shot
Shallow depth of field
Portrait
Dramatic/beautiful/interesting use of light
Slow shutter speed
Internal framing
Movement
Decisive moment
Layers telling a story
Unusual perspective

Make sure you leave enough time to come back and load the photos onto your computer and pack up the cameras by the end of class time; we’ll work on editing the images in Lightroom at a later date. I recommend also saving them in the cloud or sending them to yourself via WeTransfer (which expires after about a week!) or email.

Class Agenda: Wednesday, Sept. 4

Image result for dslr camera
Credit: Expert Photography

Introduction to DSLR Photography

The first time you pick up a DSLR camera, the sheer number of settings and dials can be a little overwhelming. You may be tempted to stick with Auto when you start out — and that’s totally fine while you’re getting the hang of it.

But to make sure you are taking the best possible pictures, it helps to have control over a few key settings: ISOaperture, and shutter speed, which collectively make up the three pillars of photography. Tweaking these settings will allow you to take different types of pictures, and all of them essentially come down to one thing: light.

The Bucket

It may be helpful to keep this analogy in mind.

Imagine you are using a garden hose to fill a bucket to the top. Next, imagine that our end goal — a bucket filled exactly to the brim, but without spilling — equals a perfectly exposed photograph .

A few things control how much water goes in the bucket and how long it takes to reach the brim: the width of the hose, the water pressure, and how long you let the water run. You can achieve your goal using endless combinations of these factors. A very narrow pipe running at a steady pressure for a long time will fill your bucket as surely as a very wide pipe running for only a few moments.

A camera works the same way to let in the correct amount of light. Imagine that the width of the hose is the aperture, the amount of time you run the tap is the shutter speed, and the water pressure is the ISO.

ISO

Basically, ISO refers to how sensitive your camera’s sensor is to light. The lower the number, the less sensitive it is and vice versa. The ISO range in the DSLR cameras we’ll be using usually goes from 100 to 6400, doubling as it goes (100 to 200 to 400 and so on until it gets up to 3200 and 6400).

It follows, then, that you will need to adjust the ISO for the available lighting conditions.

In broad daylight, there is plenty of light to work with, so a low ISO will be all you need. If you let in too much light, the image will be overexposed.

Image result for overexposed photo
Credit: Dan Carr

If you are shooting indoors in artificial light, you will need a much higher ISO — but be aware that you sacrifice image quality as you get up to the highest ISO settings, where you will start to notice a grainy quality. So before you reach for the dial to crank the ISO up to 3200, try letting a bit more light into the camera using a wider (lower) aperture or slower shutter speed.

Credit: here

Shutter Speed

Shutter speed is probably the simplest setting to understand. It refers to how long the camera’s shutter stays open. The longer the shutter is open, the more light is able to come in, and vice versa.

Shutter speed typically ranges from about 1/1000th of a second (very fast) to a few seconds (very slow). Slow shutter speed allow for a longer exposure time, which allows the camera to capture more movement. This can be a good thing or a bad thing, depending on the image you want to make.

MotionBlur2

A faster shutter speed would have captured the aqua-colored glove crisply. Using a slower shutter speed can create a sense of motion. Credit: Lindsay Armstrong

A long exposure can allow you to capture objects in motion in an artistically blurred fashion — or it can capture unwanted camera shake if you’re shooting without a tripod.

Image result for slow shutter speed waterfall
Credit: Shaw Academy
Image result for fast shutter speed surfing
Credit: Jeff Dotson

Sports photographers trying to capture crisp images, for example, are likely to rely on a fast shutter speed because their subjects are moving so quickly.

Aperture

Aperture refers to the opening in the lens. The wider it is, the more light it lets in. Somewhat confusingly, smaller numbers equate to wider aperture. Aperture is measured in “f-stops” and lenses can have different ranges. The wide-angle lenses that come with the journalism department’s DSLR cameras typically range from about f/3.5 (the widest) to f/22 (letting in the least amount of light).

Image result for shallow depth of field vs deep

IMG_5185-Edit_BLOG
Credit: Cole’s Classroom

A low aperture, in addition to helping you shoot in low-light conditions, allows you to capture a shallow depth of field. This refers to the effect where an object in the foreground is in focus but the background is blurred (or vice versa).

This also allows you to play with the bokeh effect.

A high aperture, on the other hand, allows to retain detail at every layer of the image, which can be vital in terms of storytelling. If there are protest signs in the background, for instance, and your camera lens is focused on a police officer in the foreground, a shallow depth of field means we may not be able to tell what the signs say. In such a situation, you might want a flatter image, with a deeper depth of field.

Image result for deep depth of field photojournalism

Image result for protests photojournalism depth of field
Credit: Sean Cayton

Aperture Priority vs. Shutter Priority vs. Manual

As soon as you’re ready to leave the comfort of Auto behind, the next logical step is to experiment with Aperture Priority and Shutter Priority shooting modes (Av and Tv on your DSLR dial). These settings operate exactly the way their names suggest. You decide whether aperture or shutter speed is more important to the image you want to make and the camera will automatically adjust the other one for the correct exposure.

So if you’re shooting a soccer game, for instance, shutter speed is probably more important. There will be a lot of movement and you’ll want to capture the action crisply. But if you’re taking a portrait and you want to blur the background to allow your subject’s face to stand out, aperture priority is the obvious choice.

In both of these shooting modes, you still have to control for ISO, but they make your job a little bit easier than if you were to jump straight from Auto to Manual. Going back to our analogy, you only have to worry about two out of the three elements that fill the bucket. But once you’ve mastered Aperture Priority and Shutter Priority, you’ll be ready to take the final leap to Manual.

Screen shot 2014-06-09 at 5.23.56 PM

Screenshot. Credit: CameraSim

The best way to learn all of this is by doing it, so please don’t be shy about checking out camera equipment. In the meantime, a good way to get some practice juggling all the settings is by using CameraSim, an online DSLR simulator. It allows you to play with camera settings, lighting conditions, distance from subject, and a few other factors that go into taking a picture, and to check your best guesses against the resulting image.

Next: How to construct a photo essay

A photo essay is a thoroughly reported story, told in well-composed and curated images and captions. Ideally, there should be a mix of images so that the eye is always looking as something new as the viewer clicks or scrolls through: close-up shots, wide shots, portraits, colorful shots, bright shots, dark shots, action shots, etc. Intimacy is a powerful tool in these sorts of projects.

Unstoppable: Meet the Dancehall Queens of Brooklyn

Somali Life in Minnesota

NYT Lens Blog

Assignment

Pitch a photo essay. This could be a character-driven human interest story, or an event that is very visual in nature, or it could provide a local angle on an ongoing story. If stuck, ask yourself: What events are coming up that would make for cool photos? What are the big international, national or regional issues that have been making news of late?

Examples: Follow a family in Newark who are being affected by the water crisis. Photograph a small business owner who makes custom neon signs. Go to an arm-wrestling competition and document it.

A major caveat: While intimacy generally makes for more powerful images, be safe and use your judgment. Some of us will have access to stories and moments that others might not, whether due to age or gender or race, and some of us might be at risk attempting to cover stories that others would have no issues with.

Pitches will be due on Monday, September 9. The photo essays won’t be due until Wednesday, October 2.

Post your pitches on the class blog. Give a couple of paragraphs telling us who/what your photo essays will be covering, and why it is interesting or timely or relevant. Confirm that you actually have access to the story you want to do. And finally, tell us what kind of visuals you anticipate. Do yourself a favor and pitch a story that is visually interesting rather than trying to force an interesting but not-super-visual story to work for this assignment.

Intro to Multimedia Reporting

Hello, JRN 3510 students. This class blog is where you’ll pitch stories, submit drafts, publish your edited stories, and workshop each other’s projects and ideas. I will also post my lectures here so that you can refer back to them.

Welcome and introductions.

I essentially run my classes like a small newsroom. So for the next few months, you will be the reporters and I will be your editor. If you have any questions or run into any problems on your assignments and need a quick response, the best way to reach me is just to text me; my number is in the syllabus. For anything less time-sensitive, email is fine.

Review the syllabus:

Multimedia Reporting Syllabus Fall 2019

What does “multimedia” journalism mean and how is it changing?

Traditional forms like writing, radio and broadcast have moved online and can complement each other when it comes to telling a complete, dynamic story.

Snow Fall was revolutionary in 2012; now this type of interactive multimedia-heavy layout is fairly common. Most recently the NYT Magazine used this kind of scrolling presentation to great effect with The 1619 Project.

The old forms of traditional media still exist, but they have adapted to new methods of delivery and consumption.

Radio stories on the air –> downloadable/streamable podcasts and web versions of stories with photos

TV news –> online video (compositional framing changes, video length changes, formatting optimized for mobile)—and the bar for web video is getting higher and higher

Newspaper-style photography and landscape orientation –> Instagram and the rise of medium format (square) and portrait orientation (contains more information)

The availability of online multimedia content has also made aggregation easy (tweet roundups, etc.) and helped to create a click-driven economy. Twitter and other social platforms have changed the way news breaks.

Next: Intro to Photojournalism and Composition

Here are some basic rules and guidelines of photography to keep in mind as you start developing your eye:

1. The Rule of Thirds.

If you pay attention to only one element of composition, the rule of thirds should be it. If you start shooting with this “rule” in mind, your pictures will begin to look a lot better immediately.

The general idea is to imagine breaking an image down into thirds, both horizontally and vertically. If you place the main points of interest in your photo where the lines intersect, or along the lines themselves, your image will be far more visually interesting than if you just put the subject smack in the middle. Studies have shown that composing photos this way draws the human eye far more effectively.

Screen shot 2013-06-24 at 9.52.17 AM
Screen Shot: Google Images
12711073_10100277373528059_626850534320898319_o
Credit: Emily H. Johnson
12291934_10100247622813729_2801330229567180291_o
Credit: Emily H. Johnson

2. Use color.

Black and white photography is a beautiful art form, but in photojournalism, most of the time you’ll be shooting in color. It helps to know what combinations of color to look for if you want your images to really pop.

Image result for afghan girl
Credit: Steve McCurry

You probably recognize this photo. Known as Afghan Girl, it is one of National Geographic’s most iconic images and was taken by color master Steve McCurry. One of the reasons this relatively simple picture is so stunning and so well-known is the colors: red and green, which fall on opposite sides of the color wheel.

Credit: Wikipedia

Opposite colors, paired together, can make each other look more vibrant. Notice how the green of the girl’s eyes is picked up by the wall behind her and set off by the rusty red of her scarf.

Images with variations on the same color, known as monochromatic images, can also be quite striking:

Credit: Emily H. Johnson

3. Capture the decisive moment.

“The decisive moment” is a term that was coined by renowned photographer Henri Cartier-Bresson. It refers to that fleeting instant that photographers love to capture: When someone leans in for a kiss, when a soccer player connects with with the ball, or when a protester throws a rock. If you aren’t ready with your finger on the shutter, you’ll miss the moment. If Bresson had taken this photo a split second earlier or later, it would have been a much more ordinary photo of a man splashing through a puddle. These moments don’t need to be that dramatic; for your assignments, it may be as simple as capturing the moment when the food truck owner you’re profiling flips some meat on the grill or hands the food to her customer. Action shots vs static shots tell more of a story.

Credit: Henri Cartier-Bresson

Another decisive moment, this one also by “Afghan Girl” photographer Steve McCurry.

Image result for steve mccurry kid running hand prints
Credit: Steve McCurry
Credit: Emily H. Johnson
Credit: Emily H. Johnson
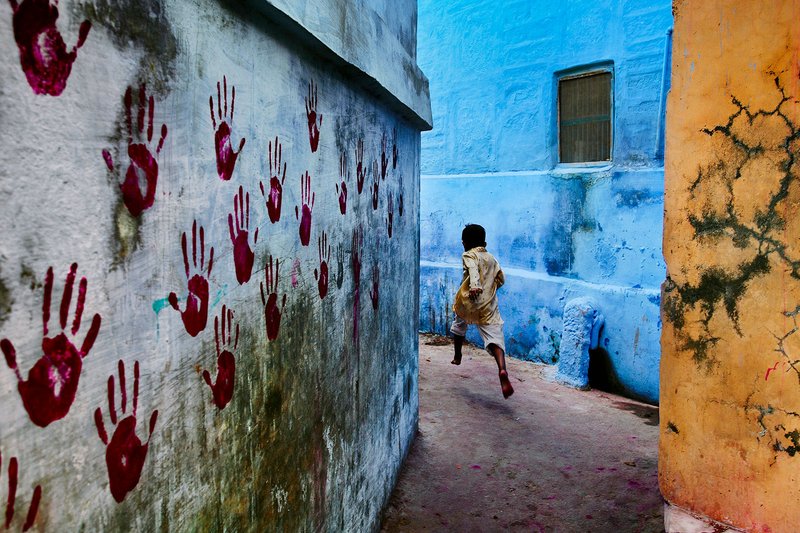
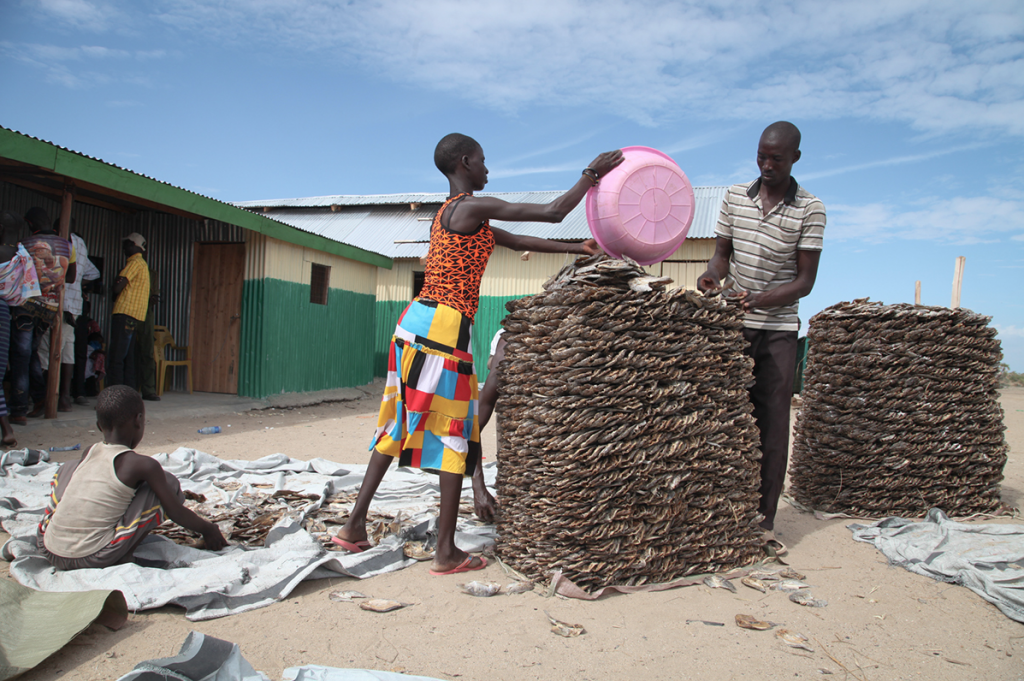
And my own photo just this past weekend:https://www.instagram.com/p/B1hvvylFvnE/

4. Leading lines.

Leading lines are lines that move the eye from one part of the image to another part, or sometimes out of the image. They add a sense of drama and perspective, so it’s always good to be on the lookout for roads, bridges, fences, shorelines and the like.

Credit: Emily H. Johnson
Image result for leading linesImage result for leading lines
Screen Shot: Google Images

5. Symmetry and patterns.

Symmetry and patterns exist everywhere, both in nature and man-made sights. Looking for repetitions and symmetries, while staying alert to things that then break those very patterns (especially on the thirds!) is a sure way to make an arresting image.

Credit: Emily H. Johnson
Credit: Emily H. JohnsonImage result for symmetry and patterns photography
Image result for symmetry and patterns photography
A moment of political passion breaks out amongst tens of thousands who gathered for a pre-election protest in Tahrir Square in Cairo, Egypt. Credit: Amanda Mustard

6. Layers.

Another great way to make sure your images are visually interesting is to keep an eye out for what’s happening up close, in the middle distance, and far away. Think in layers. If you can frame your shots so that interesting things are happening in the background as well as at your focal point five feet away, you’re onto something.

Image result for joel goodman manchester new years eve
Credit: Joel Goodman

Layers will be one of your greatest tools as a photojournalist, because layers add context. They tell a story.

Credit: Emily H. Johnson

This is a famous photograph by South African photojournalist Kevin Carter. He won a Pulitzer Prize for this image, which showed the effects of the 1993 famine in Sudan.

Credit: Kevin Carter

“Photojournalism” means you’re telling a story, not just taking a picture.

7. Get close. Then, get even closer.

Photographer Robert Capa famously said, “If your pictures aren’t good enough, you’re not close enough.” Proximity with your subjects makes for more powerful and intimate photos. Don’t be afraid to get right in someone’s face with your camera. It may feel intrusive and strange at first, but a huge part of being a reporter is engaging with people and making them feel comfortable.

What’s the process like? How do you go about shoving a camera in someone’s face?

For analysis: The Week in Pictures

So… how to construct a photo essay?

Unstoppable: Meet the Dancehall Queens of Brooklyn

Somali Life in Minnesota

Next week: An Introduction to DSLR Photography.